In the first part I have talked a little bit about the demo, the original source, and how the trees are drawn. In this post, I will talk about the rest of the stuff.
The Rest of the Stuff
This time I will separate the code into chunks and explain them one by one.
for(k=200;k--;)t.push([Math.sin(k*(Math.PI/180))*500-250,150+Math.cos(k/30)*50,180-k,Math.random(),k]); //[x,y,z,seed,tree type]This piece of code adds 200 elements to the array t[] which is the “road data” array. If you didn’t know the road actually consists of rectangles with certain size and position, and each rectangle corresponds to an element in the array. The elements put into the t[] array are actually another set of arrays. The first three indexes contain the x, y and z position of the road, the fourth index contains a random number as a seed for the trees beside the “road rectangle”, and the fifth index contains the “how manieth road that is” to determine which type of tree to show.
function r(x,y,z) {
  s = (s * 9301 + 49297) % 233280;
  return s / 233280
}
This function is used to generate a seeded random number, where s is the seed being used. The code is courtesy of the internet with some modifications to make it smaller. Also, ignore the x, y, z parameters, all functions have that to maximize compression even though no parameters are needed.
s = S;
c.fillStyle="hsl("+[e+=.1,"90%",g=s*20+50]+"%)";
c.fillRect(0,0,w = a.width, h = a.height);
We are now inside the R() function, the main function that gets called on each frame using requestAnimationFrame(). The first line is to set the seed for the random number generator to a random number inside S variable. The second line changes the fillStyle to a hsl color, while simultaneously increasing the value of e to change the main color a little bit, and setting the g variable. And the third line draws the background onto the whole canvas while also setting the w and h variable.
for(k=2;k--;) {
  c.save();
  c.fillStyle = "rgba(0,0,0,.1)";
  c.translate(0,k*h/5+h/10-Math.cos(f/30)*20);
  c.beginPath();
  c.moveTo(w,h);
  c.lineTo(w,0);
  for(i=15;i--;)c.lineTo(w/15*i+r()*20, 30*r());
  c.lineTo(-w,h);
  c.fill();
  c.restore();
}
This part of the code draws the two mountains you see in the background, pretty simple stuff.
k=(K+(f%200))%200;We are now inside the for loop, and I would like to highlight this line specifically. Each frame, the “road rectangle” which is located nearest to the camera will be “pushed back” to the most behind part. Therefore, if we loop by the index of the road data and draw them in that order then things that should not be visible because it is blocked by things in front of them may overlap the things that block them. I know that my explanation is bad, so here’s an image of what I was talking about.
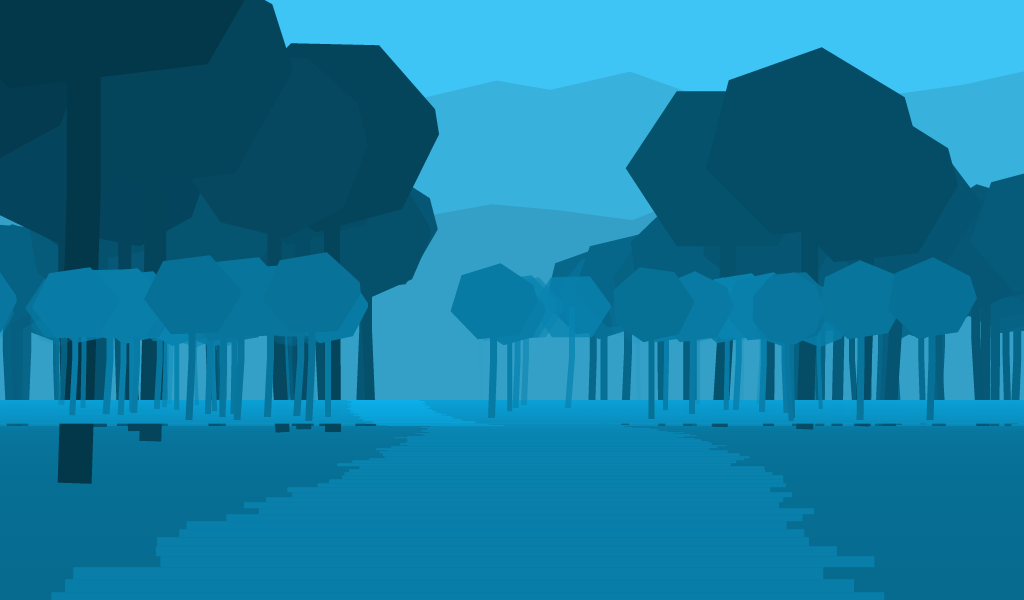
What the code does is manipulate the K loop variable so it actually starts from things that are behind to the things nearest to the camera, so the overlap issue won’t happen anymore (sorry for the bad explanation, it’s kind of complicated). And yes, I have tried sorting the array based on the z values, but it seemed to be complicated (or I was too lazy to deal with it).
p = 30 / (30 + t[k][2]--), s = t[k][3];
Z=(h/2>230)?230:h/2;
c.translate(w/2+500*Math.sin(Math.PI/180*f)*-p,h-Z-20*Math.cos(f/30));
c.scale(p,p);
r();
The ‘3d’ technique used in this demo is actually from Episode 22 of Coding Math titled ‘Postcards in Space’, so you might want to watch it first (yeah I know that this technique probably is popular and commonly used, but I learned it from the video). The p variable contains how big something will be from it’s original size based on it’s z position from 0 to 1, so further things will be smaller. Then the seed (the s variable) is changed to the seed from the road data. After that, the canvas is translated to follow the curves of the road which doesn’t seem to be perfect, but it is what it is. And lastly the canvas is scaled to the value of the p variable.
You could also see that there is a r() function being called although it seems to be useless. Well, I don’t know why but if you didn’t call that function the road edges would be smooth even though the road position is supposed to be randomized a little bit.
c.fillStyle = "hsl("+[e,"90%",g-30+t[k][2]/13]+"%)";
c.fillRect(-h*15,t[k][1],h*30,10);
c.fillStyle = "hsl("+[e,"90%",g-25+t[k][2]/13]+"%)";
c.fillRect(t[k][0]-50*r(),t[k][1],500,20);
This part of code sets the color of the road rectangles and draws them. This code draws the path (the one with lighter color), and the “ground” (the one with the darker color). I hope you understand what I meant with the “path” and the “ground”.
c.fillStyle = c.strokeStyle = "hsla("+[e,"90%",t[k][2]/8+15+r()*3+"%",1-(t[k][2]-150)/30]+")";
if(r()<.5)T(t[k][0]-150-2500*r(),t[k][1],t[k][4]);
if(r()<.5)T(t[k][0]+2500*r()+650,t[k][1],t[k][4]);
c.restore();
if(f%200==k)t[k]=[Math.sin((f+181)*(Math.PI/180))*500-250,150+Math.cos(k/30)*50,180,Math.random(),200+f];
The first line determines the color of the trees (the nearer it is to the camera, the darker it gets), this line also produces the nice fade in effect for the freshly generated trees. The next two lines draw trees on the left and / or right side of the path with random chance. And the last line “pushes back” the road rectangle which is nearest to the camera to far behind.
f++;
requestAnimationFrame(R)
This is pretty simple, it increments the f variable, which is used in the code somewhere else. And the last line will call the R() function again using the requestAnimationFrame() function.
And that’s it, the code behind my demo and the explanation. I hope you find this useful, thank you for reading!